How to Prevent Polish Chipping
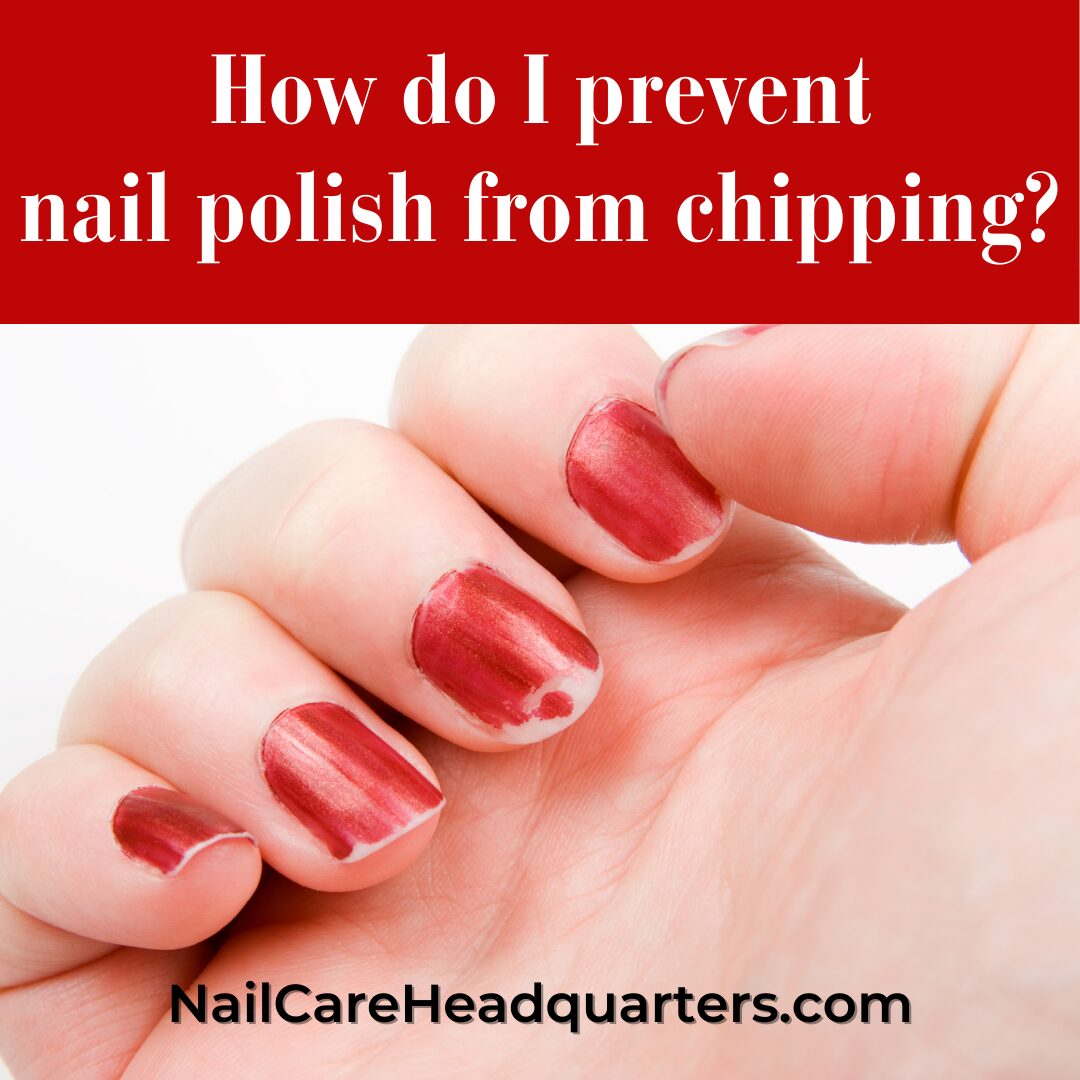
We are all looking for ways to have our polish last longer.
For me, it started with a Google search in 2010, “How Do I Keep My Polish from Chipping in the Shower?”
I spent over 80 hours searching the web until felt that I had seen everything that it had to offer. Back then, the Internet was a lot smaller. And I still did not have an answer to my question.
The solution came to me several months later after I had done another 200 plus hours of exhaustive research. I hadn’t found the answer before, but I did find the pieces of information necessary to discover the answer.
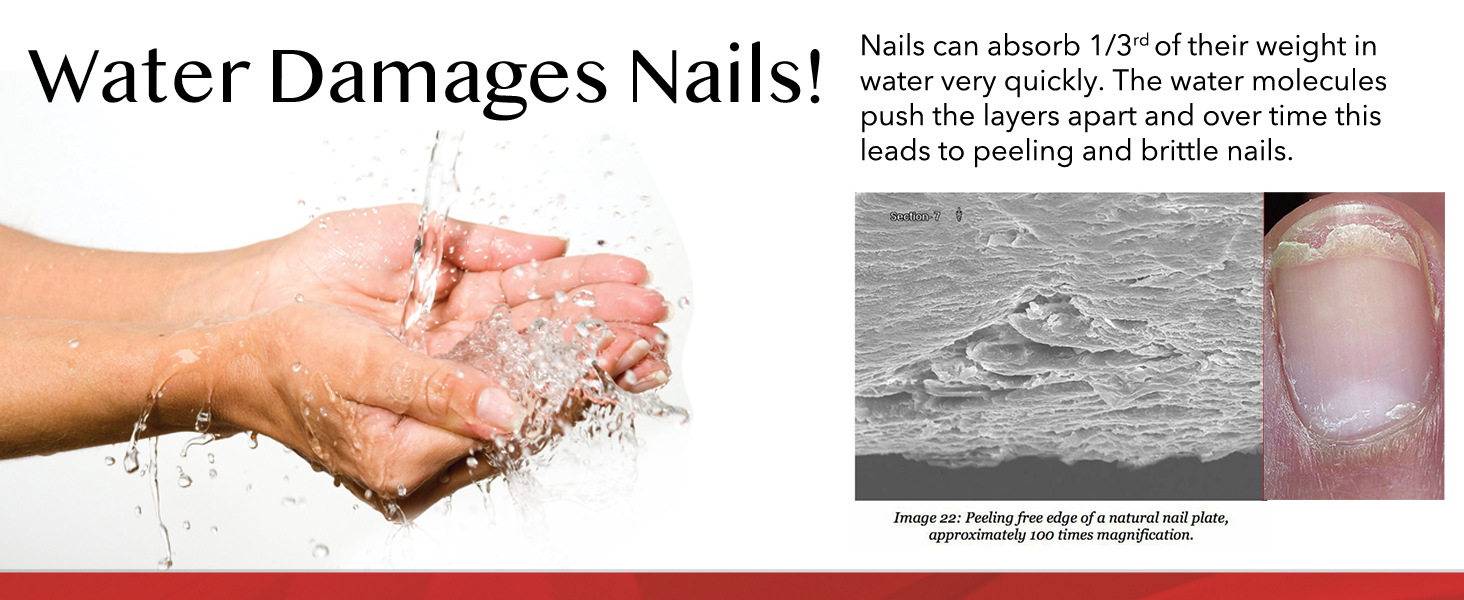
The quick answer is that nails absorb 1/3rd their weight in water. When water is absorbed through the underside of your nail plate, it breaks the polish-to-nail bond.


The Answer to the Question
The long answer to all those hours of research is in my article “How Do I Keep My Polish from Chipping in the Shower?“
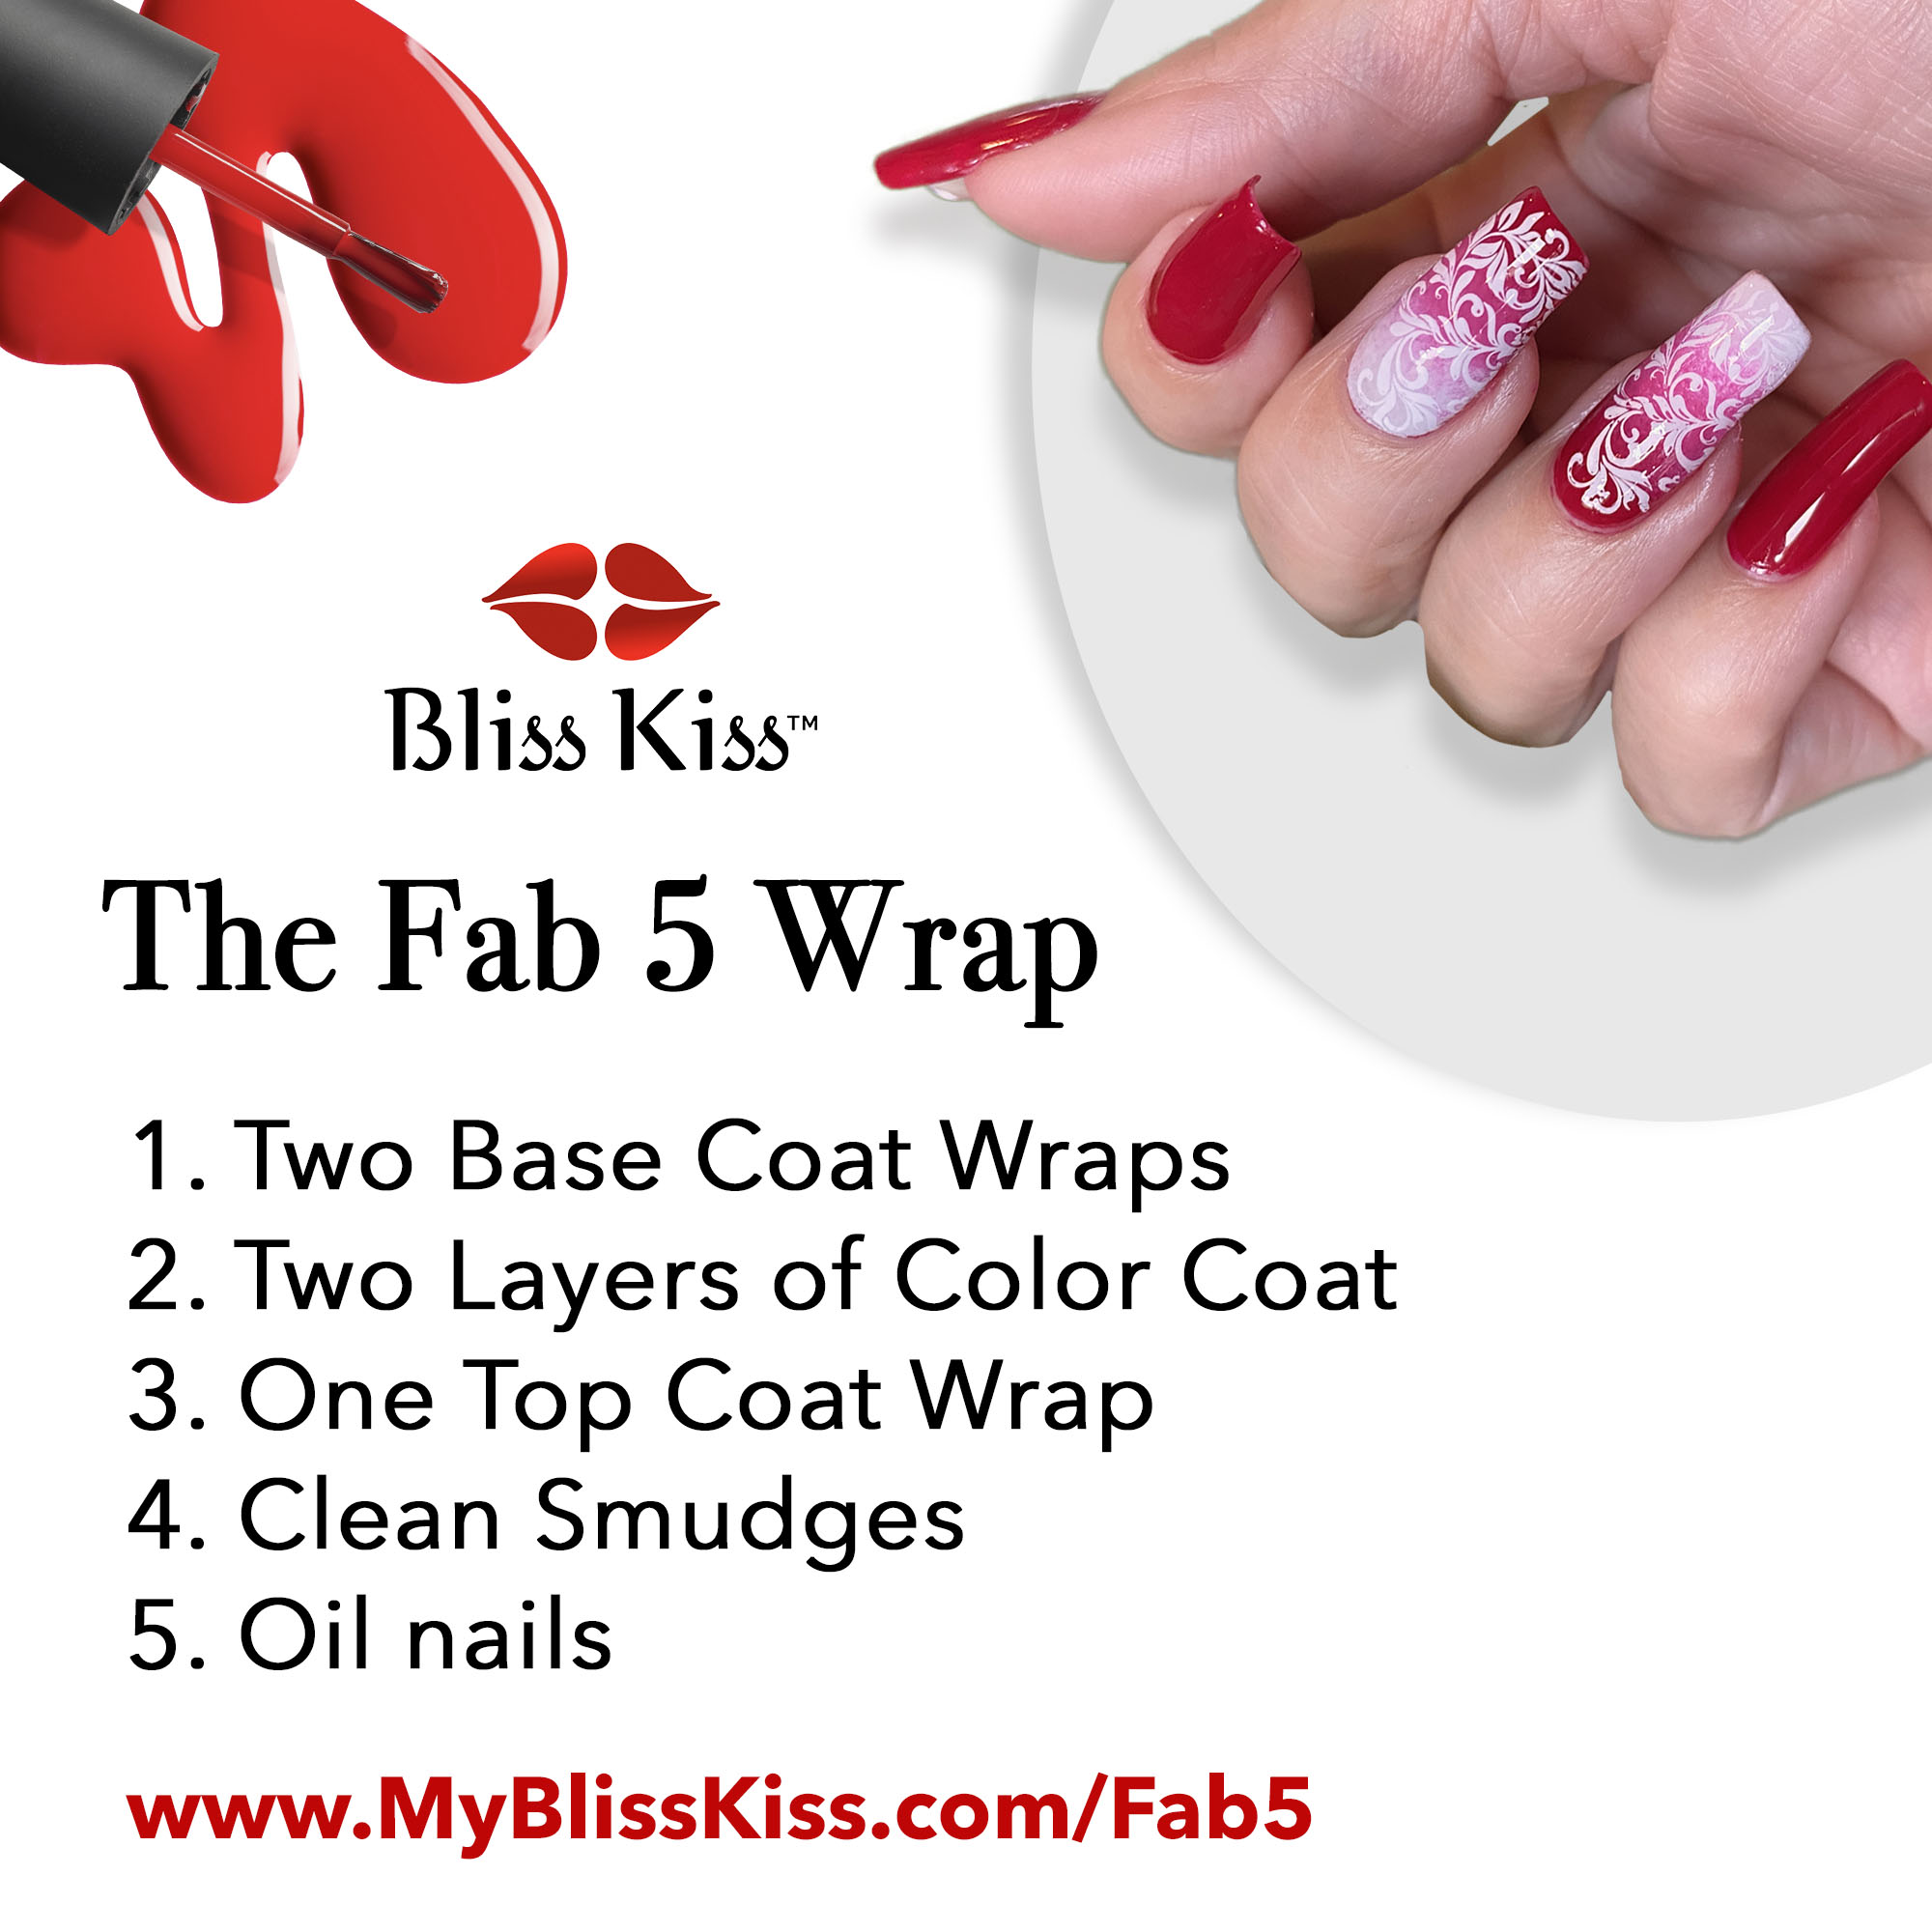
I created the Fab 5 Polish Wrap technique to help prevent my nails from absorbing water.
Now, does it stop my nails from absorbing water if I’m doing dishes without gloves for 30 minutes? NO!!!
But it does stop my nails from absorbing water in a 15 minute luxurious shower! Yes. And as a Mom to 4 active children and an entrepreneur, that’s all I need!
The result, is that I can easily wear my nail polish for 7 to 10 days without any chipping! And when I’ve spent a few hours creating gorgeous nail art—dang it, I want it to stick around!

The Fab 5 Wrap Overview
- Two Base Coat Wraps: Apply 2 coats of ridge filling base coat, wrapping completely to the underside of exposed nail tip. Any polish that gets on your skin will wash or peel off.
- Two Layers of Color Coat: Keep an orange wood stick available to wipe polish off of skin before it dries.
- One Top Coat Wrap: Apply 1 coat of your favorite quick dry top coat, wrapping completely to the underside of exposed nail tip.
- Clean Smudges: Dip a small makeup brush or art brush in acetone to clean up polish on skin and create a clean line near your eponychium (“cuticle” line).
- Oil Nails: Apply your favorite nail oil to skin and your polished nails.
The Fab 5 Wrap Details
1. Cleanse Nails: Wipe your nails with rubbing alcohol and a lint free pad as your first step. If your nails are long enough, use a Q-Tip brand cotton swab with rubbing alcohol to clean the underside of the nail. This removes the surface oils and dirt from your nails.
2. Base Coat Wrap: Use a good ridge filling base coat, wrapping it around to the underside of your nail (not just capping your tips).
3. Color Coats: Apply 2 coats of colored nail polish.
4. Top Coat Wrap: Completely wrap your nails with topcoat all the way to the underside.
5. Clean Up: Clean up your polish along the eponychium (“cuticle” line) using acetone and a makeup or artist brush.
* I wrote another article explaining why acetone is the best choice for removing polish. But the quick answer is that acetone dissolves polish quicker than non-acetone polish removers. Therefore, it is less drying.
6. Rehydrate your cuticle lines and surrounding skin with a high quality, penetrating jojoba wax ester based nail and cuticle oil.
7. Maintenance: Apply a new layer of topcoat daily or every-other day, if desired, wrapping it all the way around your tips. Apply nail oil two times per day or more. I usually do 4 or more times a day.
TIP: The ingredients that make a good topcoat bond to nail polish and have an incredible shine make it a horrible base coat! Steer away from any product labeled as basecoat AND topcoat. It will do neither one very well at all. ~Ana
Polish Removal
After 7 or more days, remove your polish with acetone. Remember, acetone is actually less drying to your nails than non-acetone because it dissolves the polish quicker.
And if you want your polish to dissolve even faster, try using manicure clips to warm the acetone. This technique of warming acetone is often used in the salon for quicker servicing. I explain this more in my how to remove polish faster article.
TIP: Before removing your polish, wipe a generous layer of olive oil or any cheap kitchen oil around your cuticles and skin to help reduce the dryness that acetone causes.
TIP: Use Q-Tip brand cotton swabs to remove the polish on the underside of your nails. I’ve tried cheaper brands and they’re just not as effective, perhaps because they’ve wound the cotton around the stick tighter than Q-Tip does.
Mini-Hydration Treatment
The Mini-Hydration Treatment is something that I like to do in between manicures. I oil my naked nails for 2 to 8 hours before starting a new manicure. If your nails are feeling especially dry, you may be interested in trying the Overnight Hydration Treatment.
1. Rinse your hands in warm water for 30 to 60 seconds.
2. Apply a high quality, penetrating nail oil to your nails about once an hour for the next 2 to 8 hours.
3. Start over with a fresh Fab 5 Polish Wrap Manicure.
The Perfect Marriage
The Mini-Hydration treatment with the Fab 5 Polish Wrap is a marriage made in heaven. Ok, well maybe not that extreme—but pretty darn close!
Nail oil absorbs into your nails brilliantly but soap and water wash it away. The Fab 5 Wrap traps the oil into your nails.
Your nail bed continues to nourish your nail plate with moisture and sebum (body oil). Polish traps all of that wonderfulness in your nails keeping them strong but also flexible.
But then the polish must be removed and we start over. Acetone—dissolves polish and takes precious oils with it. The Mini-Hydration treatment—reverses the damage.
It’s simple. It takes extra time—but it works—and it’s totally worth it. To have healthy nails in the 20th Century, you really can’t have one without the other.
Here’s your new mantra: Hydrate—Protect—Dissolve—Repeat. It’s that simple.